
Setting up a trail camera is the easy part. The real reward comes when you scroll through hundreds of captures and try to work out exactly what walked past your lens at 3 a.m. Identifying European wildlife from a single frame takes a little practice, but with the right clues you can name almost any visitor with confidence. This guide walks you through the signals that matter most and the camera habits that make identification far easier.
Start With Size, Shape and Scale
Before you focus on markings, judge the animal's overall size and silhouette. This alone narrows the field dramatically. The trouble is that a photo flattens everything, so a mouse close to the lens can look as large as a fox further away. The fix is to give yourself a reference point.
Place your camera where a fixed object of known height sits in the frame: a fence post, a tree stump, a rock, or even a stake you push in at a measured height. Once you know that the log behind the animal is 40 cm tall, estimating shoulder height becomes straightforward.
- Small (up to knee height): hedgehog, hare, rabbit, pine marten, red squirrel, stoat or weasel.
- Medium (knee to hip): red fox, badger, roe deer, domestic cat or a smaller dog.
- Large (hip height and above): red deer, fallow deer, wild boar, and in some regions wolf or lynx.
Body shape refines the guess. A low, stocky body with a broad rear suggests a badger; a lean frame with a long bushy tail points to a fox; an upright, alert stance on tall legs is almost always a deer.
Read the Details: Coat, Tail, Ears and Gait
Once size has done its work, zoom into the features that separate similar species. On many captures the colour will be washed out because most trail cameras switch to infrared at night, producing black-and-white images. That is normal and does not mean your camera is faulty. In monochrome frames, shape and posture matter more than colour.
Key features to compare
- Tail: a fox's long, white-tipped brush is unmistakable; a roe deer shows almost no tail but a pale rump patch; a pine marten has a long, thick tail relative to its body.
- Ears: tall, mobile ears suggest a hare or deer; small rounded ears point to a badger or boar.
- Coat pattern: the badger's black-and-white striped face is the easiest ID in Europe, even in infrared.
- Gait: mustelids like martens and stoats move with a distinctive bounding, arched-back run, while deer walk with a smooth, deliberate step.
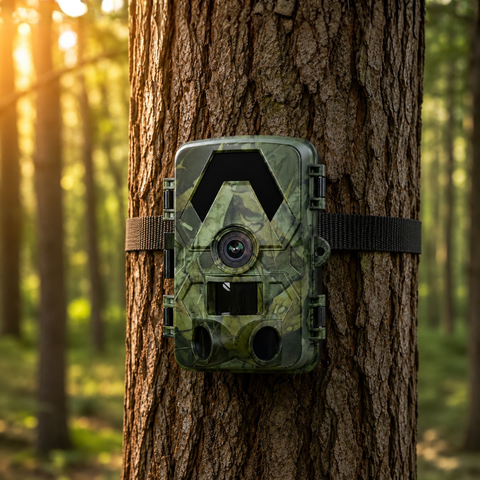
If your images are consistently too dark or blurred to read these details, the camera's resolution and night range are usually the limiting factor. A sensor capturing 4K UHD video and 60MP photos gives you far more detail to crop into, and no-glow infrared reaching roughly 20 metres keeps nocturnal subjects sharp without spooking them. Our trail camera collection is built around exactly these specs.
Use Context Clues: Timing, Tracks and Location
The photo itself is only half the story. When and where an animal appears is often the deciding clue. Every trail camera stamps the date and time on each capture, and this metadata is one of your most powerful identification tools.
- Timing: badgers and hedgehogs are strongly nocturnal, foxes are active from dusk into the night, and deer often move at dawn and dusk. A large animal captured in bright midday light is more likely a boar or a deer than a fox.
- Season: antlers help enormously. Male deer grow and shed them on a yearly cycle, so a stag in full antler in autumn is easy to age and sex, while the same animal in spring may be bare.
- Tracks and signs: check the ground around your camera. Cloven prints point to deer or boar; five-toed prints with visible claws suggest a badger; a neat, dog-like print in a straight line often means fox.
- Habitat: the surroundings narrow things further. A muddy wallow suggests boar, a well-worn latrine pit suggests badger, and browse damage on low branches points to deer.
Cross-referencing these context clues against the animal in frame will resolve most of the tricky cases that size and markings leave open.
Set Up Your Camera to Make ID Easier
Good identification starts before the animal ever arrives. A few deliberate choices at setup will save you hours of squinting at ambiguous frames later.
- Mount at the right height: position the camera at roughly the shoulder height of your target species, usually 40 to 80 cm for European mammals, so the sensor captures the body rather than empty ground or sky.
- Clear the trigger zone: the PIR motion sensor fires on heat and movement, so tall grass swaying in the wind causes empty captures. Trim the foreground for cleaner frames.
- Favour a wider field of view: a 112 to 130 degree lens catches animals that pass at an angle instead of clipping half the body out of frame.
- Give yourself storage headroom: shooting at full 4K quickly fills a card. A card of up to 128GB lets you record long bursts and short video clips, and video often reveals gait and behaviour that a still cannot. A dedicated 128GB microSD card keeps you covered for weeks.
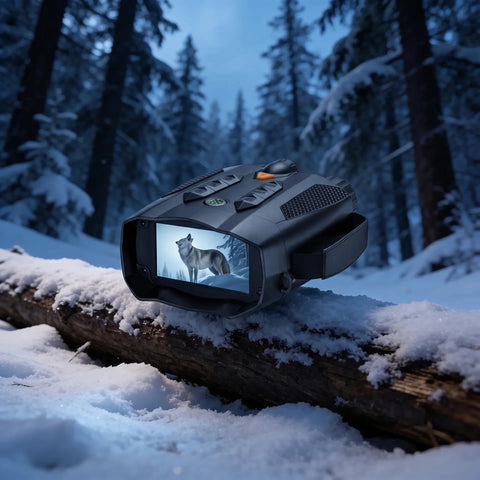
How you review the footage matters too. With an offline SD camera you retrieve the card in person; a WiFi model lets you pull images on-site to your phone; and a 4G model sends captures straight to you over the mobile network using your own standard nano-SIM (not included, and never an eSIM). Whichever you choose, there is no monthly subscription to view your own photos. For a hands-on complement, night vision binoculars let you confirm in real time what your camera has been recording after dark, which is one of the fastest ways to build your own mental field guide.
Conclusion
Identifying animals from trail camera photos is a skill that builds quickly once you know what to look for. Work through it in order: judge the size against a known reference, study the tail, ears and gait, then confirm with timing, tracks and habitat. Set your camera up thoughtfully, keep plenty of storage on hand, and within a season you will be naming your nocturnal visitors at a glance. Every SightForest camera carries a 3-year warranty and a 30-day return window, so you can focus on the wildlife rather than the hardware.
