
When the sun drops behind the tree line, a campsite and a trail become a completely different world. Night vision lets you keep watching that world safely, whether you want to identify a rustle beyond the tent, scan a valley for wildlife, or leave a camera running while you sleep. This guide breaks down the two main approaches, the specs that actually matter outdoors, and how to pack for a night in the field.
Binoculars or trail cameras: which do you need?
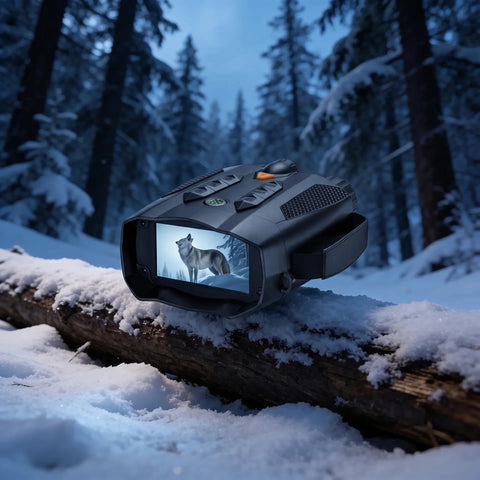
Night vision splits neatly into two use cases. If you want to see in real time, night vision binoculars are the tool. You hold them to your eyes, sweep a hillside, and watch deer, foxes or boar move in near-total darkness. They suit active hikers, campers who want to check their surroundings, and anyone who enjoys after-dark wildlife watching.
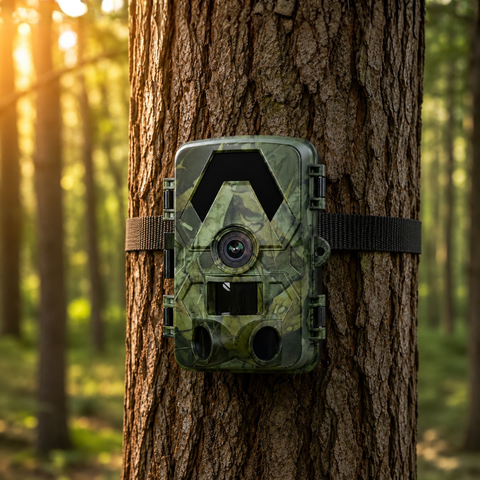
If you want to record what happens when you are not there, a trail camera is the answer. You strap it to a tree, it waits for movement, and it captures stills and video automatically. That is ideal for scouting an area before a trip, monitoring a campsite perimeter overnight, or building a picture of which animals use a trail and when.
Many outdoor users end up carrying both: binoculars for the evening walk, and a camera to leave running until morning. You can browse the full range of night vision binoculars in HD, 4K and 4K Pro, or the complete trail camera collection to compare models.
The specs that actually matter outdoors
Marketing pages throw a lot of numbers at you. On a real camping or hiking trip, only a handful make a practical difference.
- Infrared range. Our trail cameras use no-glow IR that reaches roughly 20 metres. No-glow means the LEDs stay invisible, so you do not spook wildlife or advertise the camera's position. Twenty metres covers a clearing, a game trail or the approach to a tent.
- Image resolution. 4K UHD video and 60MP photos give you enough detail to identify an animal, read markings, or crop in later without the image falling apart.
- Trigger speed and PIR. A passive infrared (PIR) sensor detects body heat and motion, then fires the camera. A fast trigger is what separates a clear shot of a passing fox from an empty frame of the tail end.
- Field of view. A wider 112 to 130 degree field of view means the sensor watches more of the scene, so fast-moving animals are less likely to slip past the edge of the frame.
- Weatherproofing. An IP66 rating means the housing shrugs off rain, dust and the damp that settles overnight. For multi-day trips in European weather, this is non-negotiable.
Matching the camera to your trip
How you connect to a trail camera matters as much as its optics, because signal and power vary wildly between a managed campsite and deep backcountry.
- Off-grid and no signal: The SD Trail Camera 4K stores everything to a microSD card with no app and no connection needed. You review the footage back at camp or at home. It is the simplest, most reliable choice for remote spots, and at €99.99 the easiest way to start.
- At a base camp or cabin: The WiFi Trail Camera 4K lets you pull footage to your phone on-site when you are within range, without hiking out to the camera each time.
- Remote monitoring from anywhere: The 4G Trail Camera 4K sends images over the cellular network so you can check in from home or the trailhead. It uses your own standard nano-SIM (not included) and there is no monthly subscription to the camera, ever. The 4G Solar Trail Camera 4K adds a built-in solar panel so it can stay out for extended stretches without a battery swap.
Whichever you choose, storage is worth planning. All models take up to 128GB microSD, and 4K footage fills a card faster than you expect, so a spare 128GB microSD card is a cheap insurance policy against running out mid-trip.
Field tips for a night in the wild
Good gear still needs good habits. A few field-tested practices make night vision far more rewarding on the trail.
- Mount at animal height. Fix trail cameras around knee to chest height and angle them slightly down. Aiming too high sends the PIR sensor over the backs of most animals.
- Watch the sun line. Avoid pointing a camera due east or west, where sunrise and sunset can trigger false captures and wash out early frames.
- Clear the foreground. Grass and branches swaying in the wind trip motion sensors all night and drain the battery. Trim the immediate area before you leave.
- Let your eyes settle with binoculars. Scan slowly and give the display a moment on each section of ground. Wildlife reveals itself through small movements you will miss if you sweep too fast.
- Pack spare power. Cold nights shorten battery life. Carry fresh cells or a power bank, and consider the solar model for anything longer than a weekend.
Buying with confidence in Europe
SightForest ships across the EU with dispatch within about 48 hours and tracked delivery in 7 to 9 business days. Every product is covered by a 3-year warranty and a 30-day return window, so you can try your setup on a real trip and send it back if it is not right for you. There are no hidden running costs and no monthly subscriptions on any camera.
For most campers and hikers, the ideal kit is a pair of night vision binoculars for active watching plus one trail camera left running overnight. Start with the connection type that fits where you roam, size your microSD card for 4K, and pack a little spare power. Do that, and the dark stops being the end of your day outdoors and becomes the most interesting part of it.
