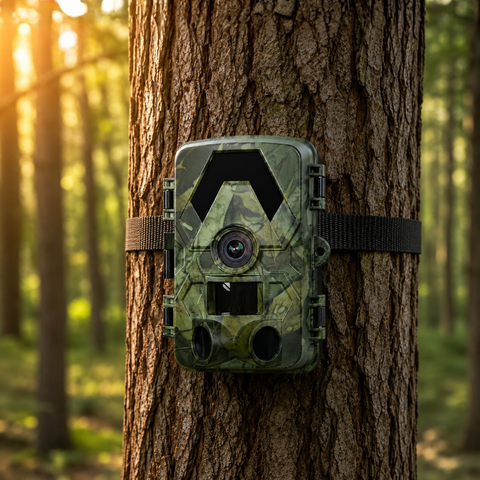

Setting up your first trail camera looks simple: strap it to a tree, walk away, come back to a memory card full of deer. In reality, most beginners lose their best footage to a handful of avoidable errors. Below are the ten mistakes we see most often, and the quick fixes that turn empty cards into sharp 4K captures.
Placement and setup mistakes
Where and how you mount the camera matters more than any single setting. Get this right and you are already ahead of most first-time users.
- 1. Mounting too high. A camera aimed down from head height misses smaller animals and produces steep, unflattering angles. Fix it by mounting at roughly knee to hip height (around 60-90 cm) for most wildlife, angled slightly downward along the trail rather than straight across it.
- 2. Facing into the sun. Point a camera east or west and the rising or setting sun washes out every daytime frame and triggers endless empty photos. Aim north where possible so the light stays behind or above the lens.
- 3. Ignoring the detection zone. The PIR (passive infrared) sensor reacts to movement crossing its field, not toward it. An animal walking straight at the camera is often gone before it triggers. Position the camera at a 30-45 degree angle to the expected path so subjects pass across the sensor.
- 4. Leaving vegetation in front of the lens. A single swaying branch or tall grass in the wind will trigger the PIR hundreds of times overnight, draining batteries and filling the card with nothing. Clear a small window in front of the camera before you leave.
A quick tip: our cameras offer a 112-130 degree field of view, so you have room to cover a wide trail. Use that width, but keep the actual crossing point within about 15-20 metres, which is the practical range of the no-glow infrared at night.
Settings and hardware mistakes
The default settings out of the box are a starting point, not a finished configuration. These errors are all fixable in the menu or before you ever leave home.
- 5. Never testing before you walk away. The single most common cause of a blank card is a camera that was never armed, or was pointed slightly wrong. Do a walk-test: arm the camera, walk across the detection zone, then check that it captured you before you leave the spot.
- 6. Trigger interval set too long (or too short). A long interval between triggers means you miss the second and third animal in a group; too short fills the card and flattens the battery. For general wildlife, a short interval of a few seconds with a burst of photos is a sensible balance.
- 7. Using a slow, oversized, or unformatted memory card. 4K UHD video and 60MP photos need a fast, reliable card. Cheap or worn cards cause corrupted files and missed captures. Use a quality card up to 128GB, format it in the camera (not just on your computer) before first use, and keep a spare. Our 128GB microSD card is matched to the cameras and formatted in seconds.
- 8. Assuming every camera needs a SIM or a subscription. This trips up a lot of beginners. Only cellular models send images over mobile networks. If you buy a 4G camera such as the 4G Trail Camera 4K, you supply your own standard nano-SIM (not included) - it is a normal nano-SIM, never an eSIM. There is no monthly subscription with SightForest, and the offline and WiFi models need no SIM at all.
The mistakes that cost you the whole season
The last two are less about a single shot and more about whether your camera survives and keeps working for months.
- 9. Choosing the wrong camera for the location. A camera you can only reach once a month should not depend on you swapping cards or batteries weekly. If the spot is remote, cellular or solar makes sense; if it is in your own garden, an offline card-based model is simpler and cheaper. Match the model to how often you can visit.
- 10. Underestimating weather and power. Beginners often assume any outdoor camera shrugs off rain and cold. Our cameras are IP66-rated against dust and heavy rain, but batteries still drain faster in winter, and a camera left for months on internal batteries may die mid-season. For long, hands-off deployments, a solar model keeps itself topped up.
Quick decision guide by use case
- Garden or nearby woods you visit often: the offline SD Trail Camera 4K records straight to microSD, no SIM and no fuss.
- A spot with WiFi range where you want images on your phone on-site: the WiFi Trail Camera 4K connects to the app when you are nearby.
- Remote land where you need images sent to you: the 4G model, using your own nano-SIM, with no subscription.
- Long, unattended deployments: the 4G Solar Trail Camera 4K keeps its own batteries charged.
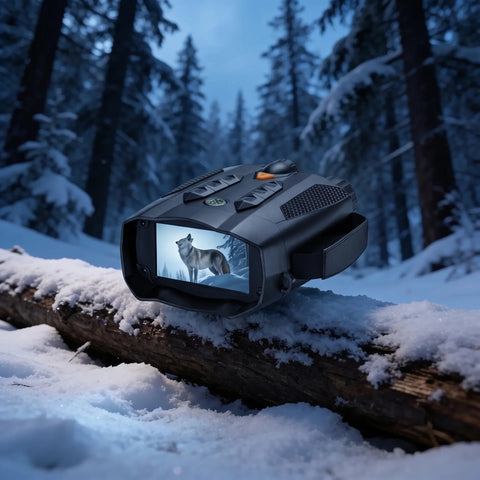
If you would rather compare the full range side by side, browse the trail camera collection, and if you prefer watching wildlife live rather than recording it, the night vision binoculars are a natural companion.
Conclusion
Almost every disappointing trail camera result comes down to placement, settings, or a mismatch between the camera and the location. Mount at the right height and angle, walk-test before you leave, format a fast card, and pick the model that fits how often you can visit. Do those four things and your first season will look a lot more like the highlight reel you were hoping for. Every SightForest camera ships within about 48 hours with tracked delivery in 7-9 business days, a 3-year warranty, and 30-day returns, so you can start experimenting with confidence.
