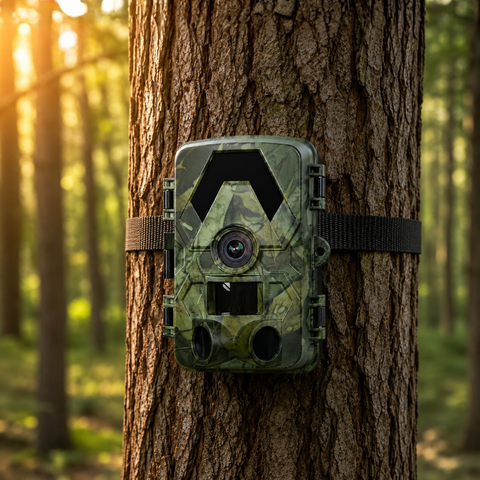
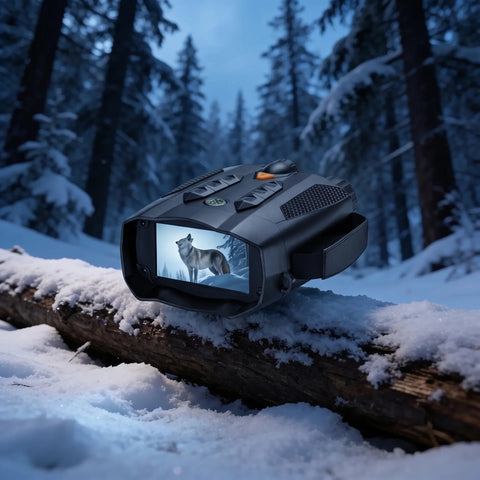

Few things are more frustrating than pulling your microSD card, expecting a fox or a stag, and finding hundreds of empty frames or a folder full of photos triggered by nothing. Blank photos and false triggers are the two most common complaints with any trail camera, and the good news is that almost every cause is fixable once you know where to look. This guide walks through why both problems happen and the practical steps to stop them.
Why Trail Cameras Take Blank Photos
A "blank" photo is one where the camera fired but nothing appears in the frame. The animal is gone by the time the image is captured, or the shot is too dark, washed out, or empty. This is almost always a timing, placement, or settings issue rather than a faulty camera.
Trigger speed and the empty-frame problem
Every trail camera has a small delay between the PIR sensor detecting heat-and-motion and the image actually being written. If an animal moves quickly across the frame, it can clear the shot before the shutter fires. To reduce empty frames:
- Aim along the trail, not across it. Point the camera down a path at a slight angle so animals move toward the lens and stay in frame longer, instead of darting straight across.
- Set the camera back a sensible distance. Roughly 3 to 5 metres from where you expect movement gives the sensor time to react while keeping the subject well lit by the IR.
- Shorten the trigger interval. A long delay between shots means you miss the moment. Lower it, or enable a short photo burst so you capture two or three frames per event.
- Mount at animal height. Waist height for deer, lower for smaller mammals. A camera aimed over the animal's back records movement but not the animal.
Dark or washed-out night shots
SightForest cameras use no-glow infrared that reaches roughly 20 metres. If your night images are pure black or a bright white blur, distance is usually the cause. Subjects beyond the IR range appear as dark shapes, while anything too close (or a reflective surface like a metal gate or wet leaves right in front of the lens) bounces the IR straight back and blows out the exposure. Reposition so the target zone sits comfortably inside that 20-metre window, and clear any foliage directly in front of the lens.
Why Trail Cameras Trigger on Nothing
False triggers are the opposite headache: hundreds of photos of an empty field. The PIR sensor works by detecting a change in infrared heat combined with motion, so anything that mimics a warm moving body will set it off. The usual culprits are:
- Moving vegetation. Sun-warmed grass, branches, or ferns swaying in the wind are the number-one cause. Clear the area in front of the camera and avoid pointing it at tall grass or thin twigs.
- Direct sunlight and heat pockets. A camera facing east or west catches sunrise and sunset directly, and warm air rising off rocks or bare soil registers as motion. Aim north where possible.
- Sensitivity set too high. Maximum PIR sensitivity is great for small, distant animals but will fire at every leaf. In warm, breezy, or open locations, turn it down a notch or two.
- Rain, snow, and insects. Precipitation and bugs crawling across the warm lens housing can trigger the sensor, especially at night when they are drawn to the camera.
Dialling in sensitivity and detection zone
Think of PIR sensitivity as a trade-off. High sensitivity catches more real events but also more false ones; lower sensitivity is cleaner but may miss a small or fast animal at the edge of the zone. Start in the middle, review a day of captures, and adjust from there. Cameras with an app connection make this far easier: with the WiFi Trail Camera 4K you can preview the live view on-site and fine-tune the aim and sensitivity before you walk away, rather than guessing and returning days later.
Rule Out Hardware and Card Issues
Before blaming settings, confirm the basics are sound. A surprising share of blank-photo and missed-capture reports come down to power or storage:
- Batteries. Weak or cold-drained batteries cause the flash and sensor to underperform, producing dark or missed shots. Use fresh, good-quality cells, and remember lithium cells hold up far better in winter cold.
- The microSD card. A slow, full, or corrupted card leads to missed events and empty files. Format the card in the camera (not on your computer) before first use, and stick to a reliable card. Our 128GB microSD card is matched to the camera's 4K UHD, 60MP output and formats cleanly in seconds. All SightForest cameras support cards up to 128GB.
- Firmware and seating. Make sure the card is fully seated and the camera is running the latest firmware. Reseat the card if captures suddenly stop.
- Weather sealing. Condensation inside a poorly closed housing can fog the lens and mimic motion. SightForest cameras carry an IP66 rating, but the latch still needs to be fully closed and the seal free of debris.
A Quick Field Checklist
When you set up or move a camera, run through this short routine to avoid a wasted trip:
- Format the microSD card in the camera and confirm battery level is full.
- Aim north, along a trail, with the lens clear of grass and branches.
- Set the target zone within 20 metres for reliable night IR.
- Start with medium PIR sensitivity and a short trigger interval or burst.
- Do a walk-test in front of the camera, then check the first captures before leaving.
Most blank-photo and false-trigger problems disappear once placement, sensitivity, and card health are sorted. If you are choosing your next camera, a model with on-site preview or cellular check-ins makes tuning far quicker, and none of the SightForest range carries any monthly subscription. Browse the full trail camera collection to find the connectivity that suits your spot, then set it up once, dial it in, and let the wildlife come to you.
