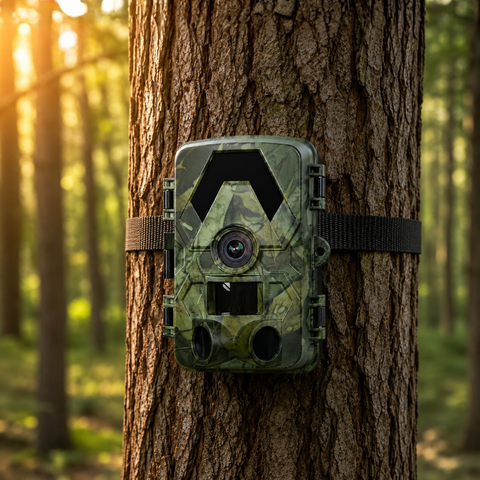

A trail camera is only as good as the way it is set up. The same hardware can either fill your microSD card with sharp, well-timed wildlife shots or waste its battery on blurry frames of swaying grass, and the difference almost always comes down to a handful of menu settings. This guide explains what each option actually does and how to choose sensible values for real-world use in European woodland, fields and gardens.
The core capture settings
Before worrying about advanced options, get the fundamentals right. These are the settings that decide what your camera records and when it wakes up.
- Capture mode (photo, video or both). Photo mode is kinder to battery and storage, and 60MP stills are ideal for identifying individual animals. Video captures behaviour and movement. "Photo + video" grabs a still and then a clip on the same trigger, which is the best all-round choice when you have room on a large card such as a 128GB microSD card.
- Resolution. Our cameras shoot 4K UHD video and up to 60MP photos. Higher resolution means larger files, so match it to your card size and how often you can visit the camera. For long unattended runs, dropping video to a slightly lower resolution stretches both storage and battery.
- PIR sensitivity. The passive infrared sensor detects heat and motion. Set it high in cold weather or for small animals, and lower it in warm weather or windy, sun-dappled spots where moving vegetation causes false triggers. If your card fills with empty frames, sensitivity is usually the culprit.
- Trigger delay (interval). This is the enforced pause between captures. A short delay catches fast sequences at a feeder or trail; a longer delay of 30 seconds to a few minutes prevents one lingering animal from generating hundreds of near-identical files.
Photo burst and video length
Burst mode fires two, three or more photos per trigger, which greatly improves your odds of a clean shot when an animal is moving. For video, keep clips to 10 to 20 seconds unless you are studying specific behaviour: longer clips drain the battery quickly and rarely add useful information. On solar-powered setups such as the 4G Solar Trail Camera 4K you have more freedom to run longer clips, since the panel keeps topping the battery up.
Night vision and infrared
Most wildlife activity happens at dawn, dusk and after dark, so night settings matter enormously. Our cameras use no-glow infrared, which illuminates the scene out to roughly 20 metres without a visible red light that could spook animals or alert passers-by.
- IR distance / night mode. If your target zone is close, a lower IR power setting avoids over-exposing nearby subjects into white blobs. For open ground, use the maximum range.
- Shutter speed at night. A faster night shutter freezes motion but needs more light; a slower shutter brightens the scene but can blur fast movers. If nocturnal animals look smeared, bias towards a faster shutter.
- Field of view. With a 112 to 130 degree field of view, position the camera so the PIR sensor covers the path an animal is likely to take, ideally across the frame rather than straight towards the lens, which gives the sensor more time to react.
Timing, scheduling and connectivity
These settings control the camera's routine and how you receive images. Getting them right is what turns a camera into a reliable, low-maintenance tool.
- Time-lapse. Independent of the PIR, this takes a photo at fixed intervals regardless of motion. It is useful for monitoring feeding stations, crops or a wide clearing where animals may stay outside sensor range.
- Working hours / schedule. Restrict the active window to, say, dusk until dawn to save power during daylight hours when your target species is inactive.
- Date, time and temperature stamp. Always set these correctly. Accurate timestamps are what let you build a genuine picture of activity patterns over days and weeks.
How connectivity changes your setup
The right settings also depend on how your camera sends images. The offline SD Trail Camera 4K stores everything to microSD, so you can prioritise maximum quality and simply review the card on each visit. A WiFi model lets you pull footage on-site through the app, while the 4G cameras send captures straight to your phone from anywhere. To go cellular you add your own standard nano-SIM (not included), and it is a normal nano-SIM, never an eSIM. There is no monthly subscription with SightForest at any point, so the only running cost is your chosen SIM's data plan.
For 4G use, turn on "send photos" but consider sending compressed thumbnails rather than full 4K stills to save data, and keep the full-resolution files on the card for later. Combining a moderate trigger delay with thumbnail sending keeps your data usage and notifications manageable.
Reliability and placement settings
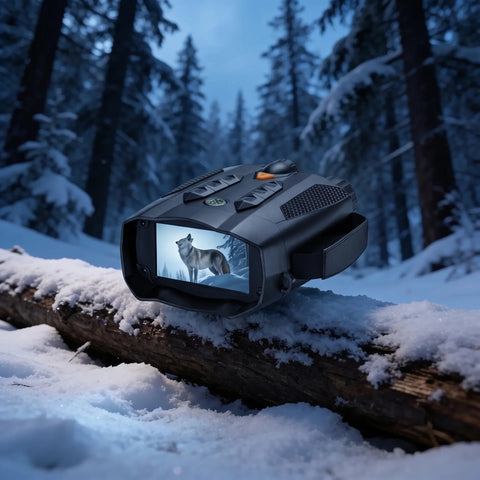
A few practical choices protect your data and your hardware. Format the microSD card in the camera before first use so the file system matches, and use a quality card up to the supported 128GB. Every SightForest camera is rated IP66, so it shrugs off rain and dust, but mounting it at a slight downward angle helps water run off the lens. Finally, note that all our cameras carry a 3-year warranty and a 30-day return window, so you can experiment with settings in the field with confidence. If you are still choosing hardware, compare the full range in the trail camera collection or explore the night vision binoculars for active night-time observation.
Conclusion
There is no single "best" configuration, only the settings that suit your location, species and how often you can check the camera. Start with photo-plus-video, medium PIR sensitivity, a 10 to 30 second trigger delay and no-glow IR at full range, then adjust after your first review of the card. A short session tuning these values pays off in months of sharp, well-timed captures.
